
I have to admit I was late -- really late -- getting in on the Blendabiliities bandwagon. I'm not ashamed, I can admit it, and be totally honest with you. I was intimidated by them.
Intimidated by a marker? For real? Yes! Crazy, right?
I'd seen so many fabulous Copic projects done by some pretty amazing artists, that I saw these and my first thought was Cool! but oh crap now I have to learn to use them. I put it off, and put it off..
Our pre-order came and went, and I kept surfing the usual hangouts and checking out the what's news and the reports of their awesome just kept coming. Finally I decided it was time.
I'd ordered the brand new Cardinal stamp set and thought that I'd order the Cherry Cobbler Blendabilities to go with it. Of course I had to get the Memento Ink Pad, and the Colour Lifter as well since all accounts had said they were an integral part of the process.
It didn't occur to me until later that if I was using the Blendabilities on a project I would probably want another colour for accent or something, so I put them aside and placed an order for the Old Olive Blendabilities - before quickly adding the Skin Tone set, because it had a versatile collection and I thought they'd be great accents for flowers and such (not *just* skin tones).
I started out with the Bloom With Hope Hostess stamp set (C 133952 $21, W133949 $27) It actually comes in 2 boxes (at least it did for the Wood Mount version).

So after a wee bit of wrestling to get the tabs on the end of the packages sorted out, and off we go..
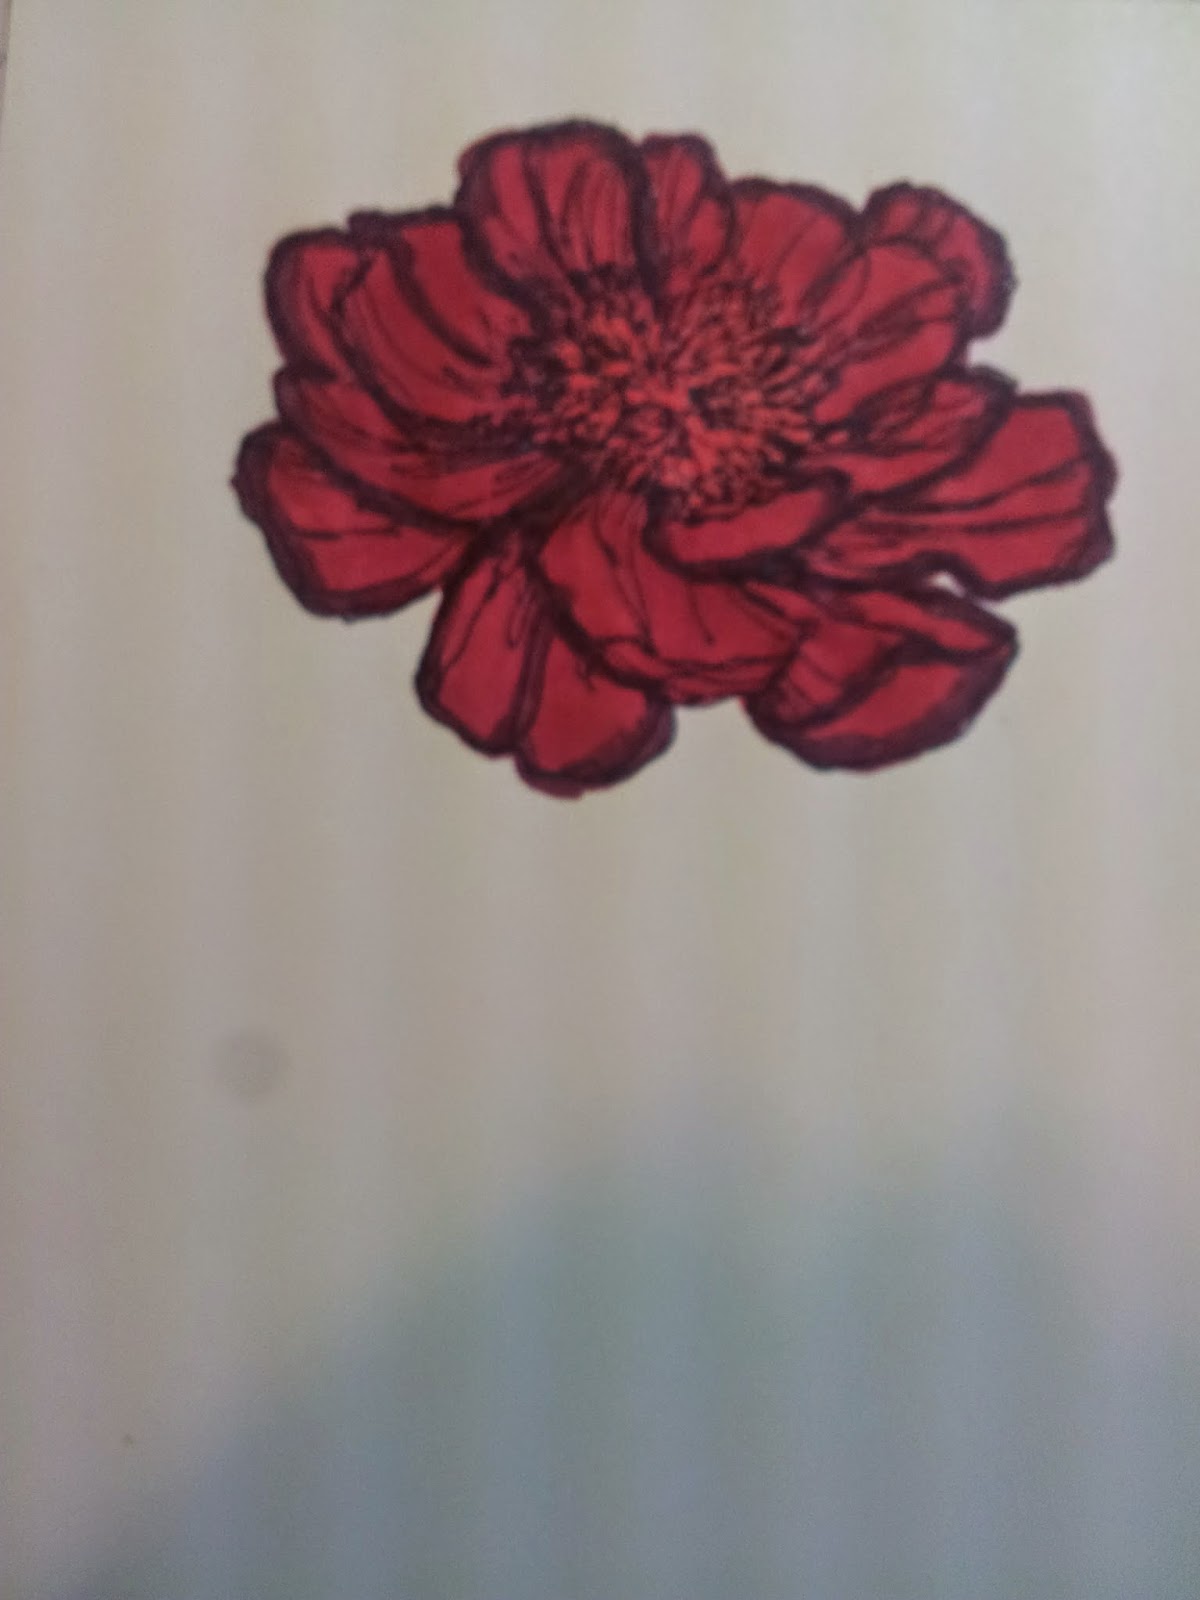
First I stamped the larger flower with the Memento Ink..

I'd read that you could either start with the lightest color and move to the darkest, or vice versa, that it didn't really matter, but I likened the technique a little to colouring with wax crayons, and thought I'd start with the outline since that's what made the most sense to me. I encourage you to try it both ways to decide for yourself which way you like it best!

As you can see in this photo, I've finished the edging and started on the shading with the medium colour. I just love that Stampin' Up! put the shade of each on the side of each pen, so if have a little trouble with colour shades, or you mix up the order of the pens you can easily check without having to lay them side by side and play a rousing round of eenie meenie miney mo!

The finished flower. It looks great the way it is, but of course I couldn't just leave well enough alone. It needed something..

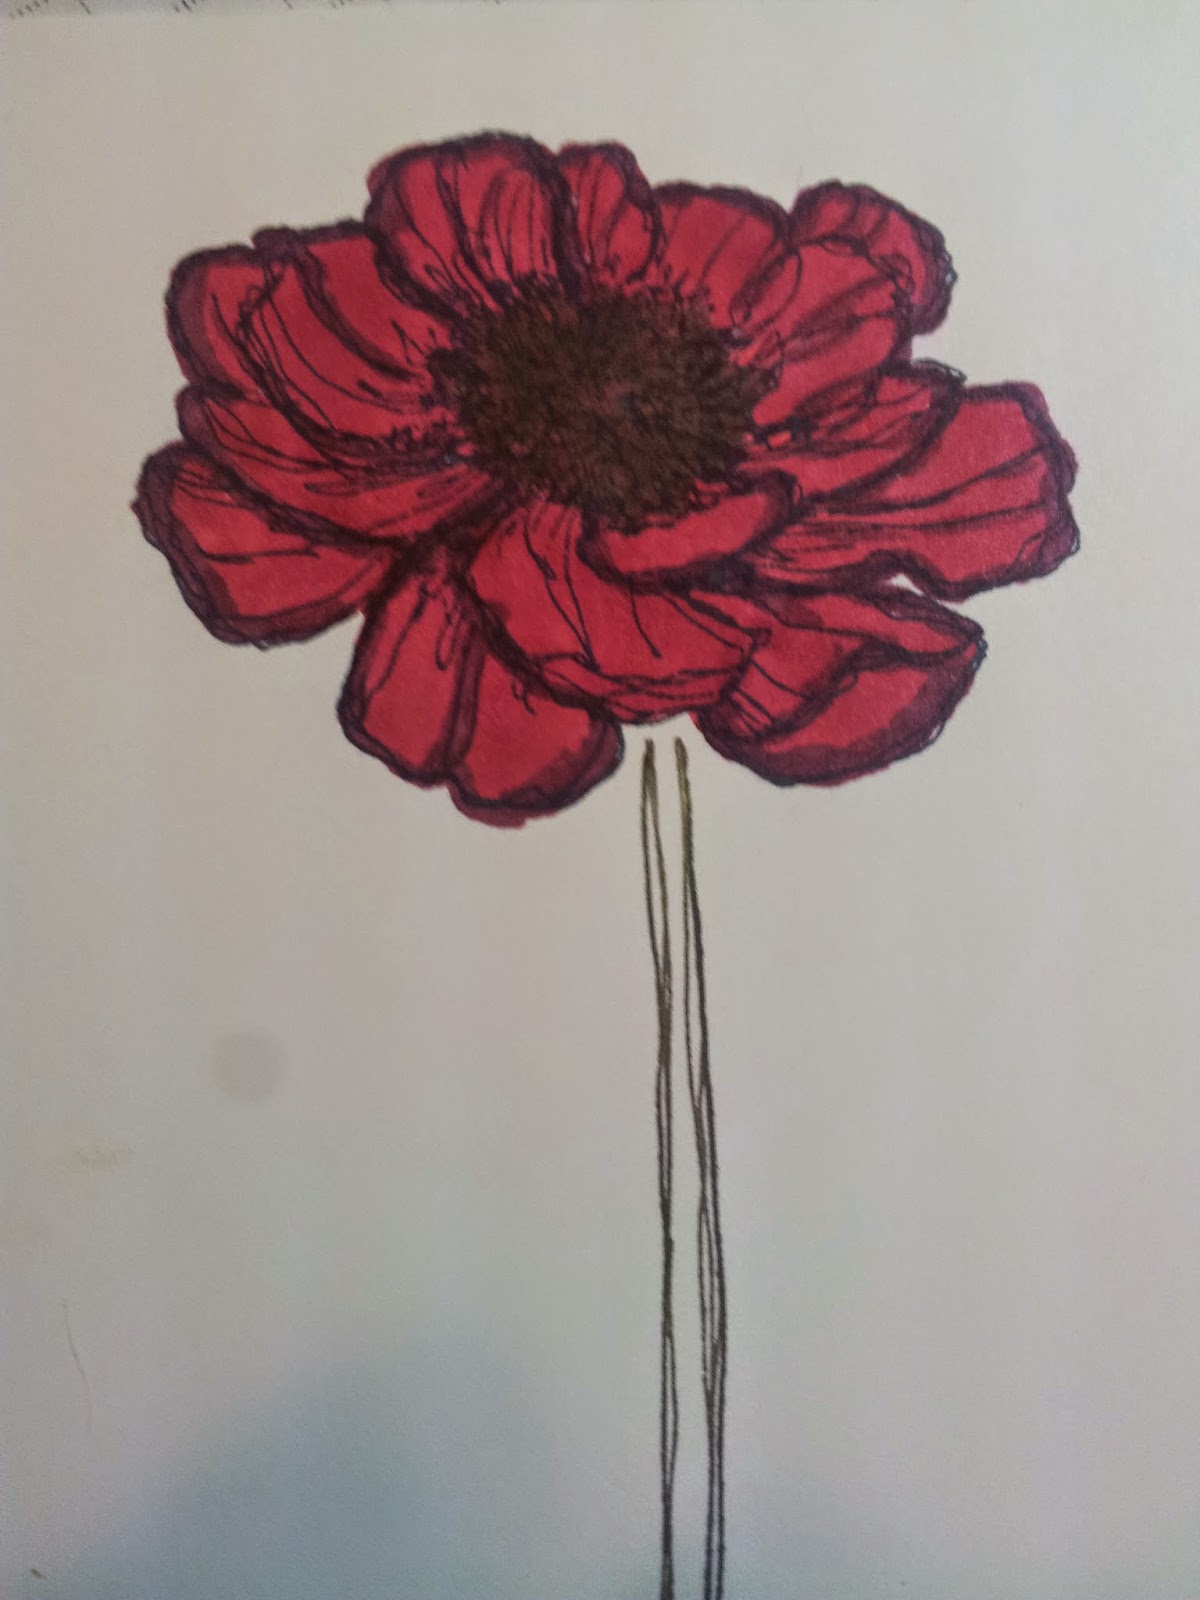
I used the Old Olive to change the color of the centre and added a stem in Old Olive as well. I quite like the finished result.
Here's the flower again using the Old Olive Blendabilities

Then just because a great friend and fellow demo laughed when I suggested that the Skin Tones would do a great flower as she was wondering why I didn't buy a stamp set with a person on it to show off the "Skin Tones," I'd explained that I was trying to think outside the box. I figured anybody can see skin tone and think person ... but how many would do a FLOWER?

I laughed out loud when I texted the photo of the finish product to my friend, and upline and she sent back something to the effect of "OMG that does NOT suck!" I'll call that a WIN for the Stampin' Tam! Team :)

Three finished note cards, mounted on Old Olive Card Stock. I was going to step it up by adding a tag, or some twine around the stem but the more I looked at it, the more I liked it just the way it was.
Have you tried our Blendabilities? I'd love to see your creations!
Don't forget we have a Free Shipping Sale on until tomorrow!
Don't miss out!
Contact me to place your order by phone, by text, or by e-mail and we'll get your goodies on their way.
Orders placed via my website will receive a credit on their next order.

Thank you for choosing ME to be YOUR demonstrator!
No comments:
Post a Comment